
Skip to Content
Whole-grain sandwich loaf

Whole-grain sandwich loaf

An easy-to-make bread that can be paired with a variety of toppings.
Author:
Hendrik Kleinwächter
| Source:
The Sourdough Framework Recipes
Ingredients
Description

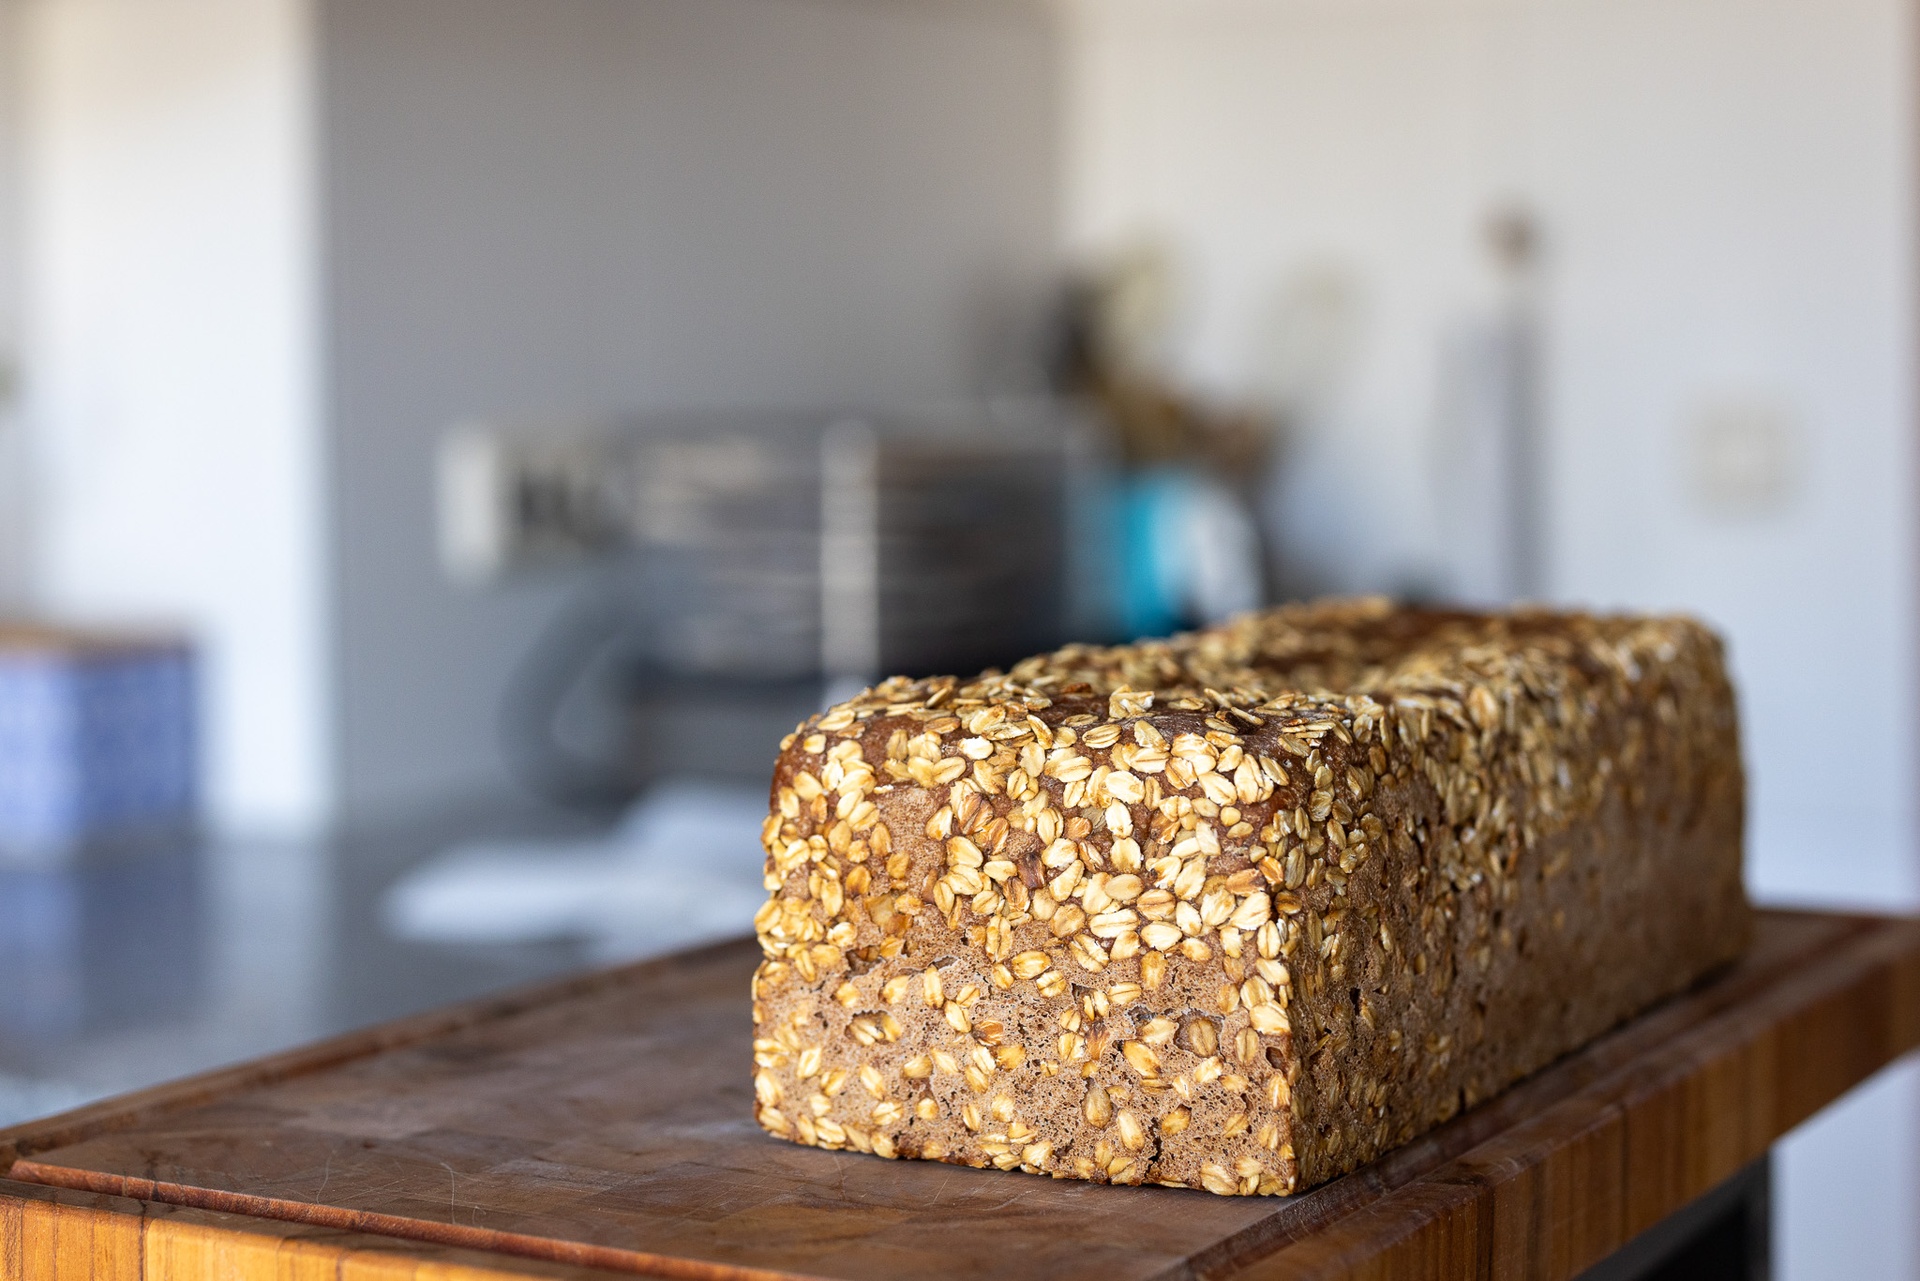
This recipe will make you a delicious whole-grain sandwich loaf. The bread features a moist soft crumb and has a nice tang. It’s the perfect hearty whole-grain sandwich bread and can be paired with savory toppings or sweet toppings.

This is my go-to weekly bread which can be made with less than 5 minutes of actual working time. Furthermore, this recipe can be made with whole-grain flour. My go-to option is a blend of 50 percent whole-rye flour and 50 percent whole-wheat flour. The recipe features a high amount of water making kneading the dough impossible, just requiring you to mix it initially. For this reason, there is no need to do any gluten development that you would normally do with a wheat or spelt-based dough. This recipe can also be made with gluten-free flour like rice or corn. In that case, just substitute the flour with your gluten-free flour.

Since this bread is made in a loaf pan there’s no need to care about the readiness of the starter. You can use both an older and younger starter. Depending on the starter activity level the fermentation will take longer or be shorter. For a very inactive starter, the recipe can take up to 24 hours, for a more active around 8-12 hours.
Recipe
Instructions
1
Mix all the ingredients until there are no chunks of flour left. A spatula will make the whole process easier.
2
Wait until the dough has increased by roughly 50 % in size.
3
Prepare a loaf pan. Use non-stick spray or a good amount of oil.
4
Cover the loaf pan in oats. Shake the oats thoroughly in the loaf pan so that they cover the walls. Let the rest of the oats fall out of the pan.
5
With a spatula remove the dough from your bulk ferment container and cover the whole loaf pan. Gently pat down the dough in your loaf pan so that the dough fully covers the pan.
6
Spray some water on the top of your dough, or use a spatula to spread water lightly on your dough’s surface. Use the remaining oats to cover the top of your dough.
7
If you want to bake the bread now, wait 60 minutes letting the dough sit on your counter. Alternatively place the dough in your fridge overnight, up to a whole week until you are ready to bake. If you let the dough sit in the fridge for more than 24 hours I recommend wrapping it in a plastic bag so that the surface does not dry out too much.
Baking
1
Place the dough into a not preheated oven at 200°C (400°F)
2
Place an inverted oven tray on top of your dough. Not directly on the loaf pan, make sure to keep at least 2 cm distance. This helps steaming.
3
Wait for at least 45 minutes and let the bread bake. Ideally, take a thermometer and measure the core temperature. Especially when fridge proofing the dough baking can take longer. Once the dough has reached 92°C (197°F) it is ready in theory. However, the top part of the loaf might not be properly baked yet. It should have a nice dark color to it similar to the the photos.
4
Wait for at least 60 minutes before removing the dough from the loaf pan.
Notes

If you feel the final bread is a bit too sour you can toast the slices before eating them. You can also consider baking your next bread for a longer period. The heat will evaporate additional acids from the bread and make it taste milder.

Austin Welsh-Graham 28 July 2026
Share this recipe
Tags
Archive